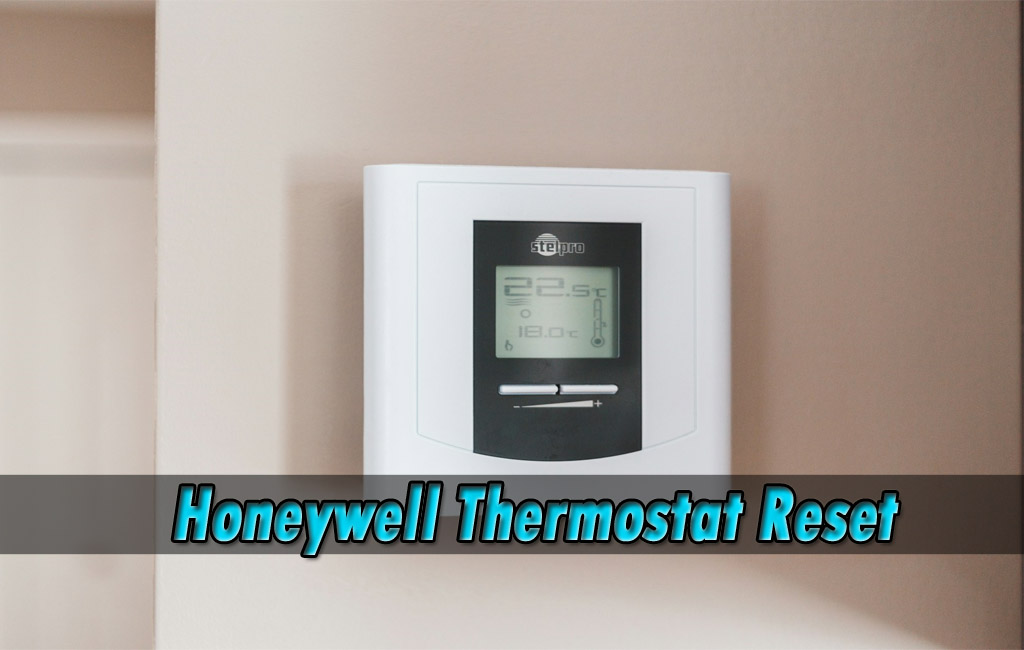
If your home’s temperature suddenly feels off, or your device is acting glitchy, it might be time for a quick Honeywell thermostat reset. Resetting your thermostat can fix a wide range of issues—like connection problems, unresponsive touchscreens, or incorrect scheduling. Whether you’re working with a Wi-Fi model or a classic manual unit, knowing how to reset it properly ensures your home remains comfortable, smart, and energy-efficient.
Why You Might Need to Reset a Honeywell Thermostat
There are several reasons why homeowners consider a reset. Sometimes, settings become misconfigured after a power outage. Other times, Wi-Fi connection issues or firmware glitches cause the thermostat to behave erratically. Resetting is a quick, safe solution that restores default settings without needing to replace the unit.
Here are the most common reasons:
- Wi-Fi connection problems
- Thermostat not responding to inputs
- Incorrect time or schedule settings
- Smart home integration issues (e.g., Alexa or Google Assistant not syncing)
- Thermostat controls heating/cooling improperly
Identify Your Honeywell Thermostat Model
Before performing a reset, identify your thermostat model. Different Honeywell thermostats have different reset methods. You can usually find the model number on the back of the unit or within the settings menu if it has a touchscreen display. Here are some common model types:
- T5, T5+, and T6 Pro Smart (Wi-Fi enabled, touchscreen)
- 6000 Series (with digital display)
- 8000 Series (touchscreen, programmable)
- 9000 Wi-Fi Series (color touchscreen, smart features)
- Manual Round Thermostats (non-digital, basic control)
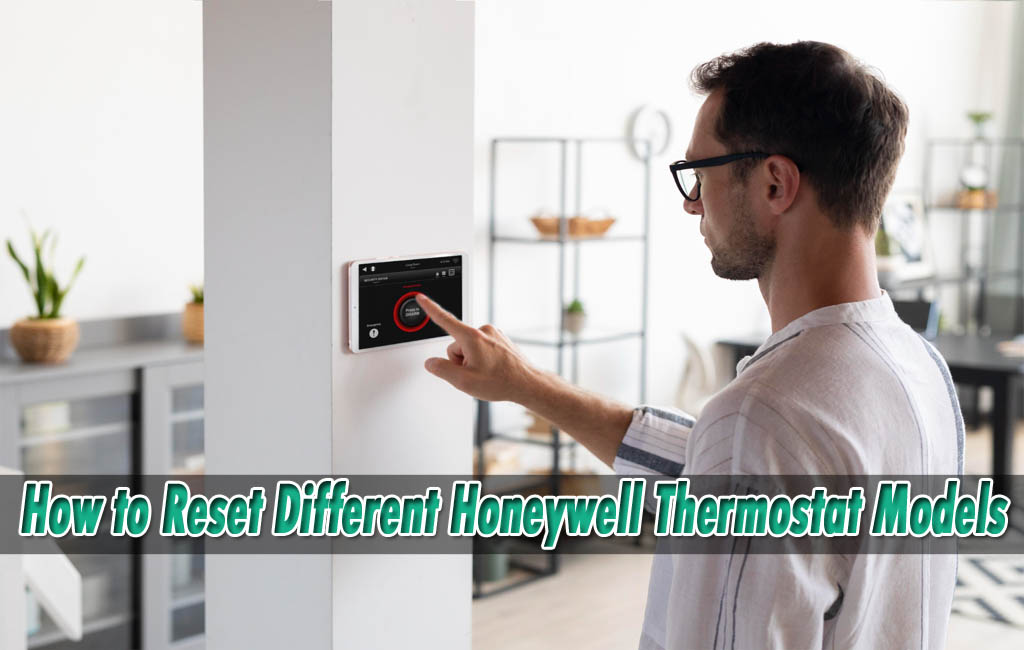
How to Reset Different Honeywell Thermostat Models
T5, T5+, and T6 Pro Smart Thermostats
For these Wi-Fi-enabled thermostats, you can do a factory reset by following these steps:
- Press and hold the center button until the menu appears.
- Use the arrows to select Reset.
- Choose Factory Reset.
- Confirm and wait for the reboot to finish.
Honeywell 6000 Series
This series typically uses physical buttons:
- Turn the thermostat off.
- Hold the Fan and Up Arrow buttons together.
- While holding, press and release the System button.
- Continue holding the first two buttons for 5 seconds.
- Release all buttons. The screen should flash and reset.
Honeywell 8000 Series
Resetting the 8000 model requires accessing the setup menu:
- Tap the System button.
- Press and hold the center blank box until the screen changes.
- Navigate to function number 0165 and set it to 1.
- Press Done.
Honeywell 9000 Wi-Fi Series
This advanced model uses a colored touchscreen interface:
- Select Menu on the home screen.
- Scroll down and tap Preferences.
- Choose Restore Factory Defaults.
- Confirm your choice and wait for the system to reboot.
Older Round or Manual Models
These units don’t have digital menus, so resetting is simpler:
- Remove the thermostat from the wall plate.
- Take out the batteries.
- Wait 30 seconds, then reinsert the batteries in reverse for 5 seconds.
- Put the batteries in correctly and reinstall the thermostat.
Step-by-Step General Reset Instructions
If you’re unsure of the model, try these general steps:
- Power off the thermostat via the breaker or system switch.
- Hold down the main control button or menu key.
- Look for a reset or restore option in the menu.
- Confirm the reset and wait for the device to restart.
What to Do After Resetting Your Thermostat
After the reset, the thermostat will return to default settings. That means you’ll need to:
- Reconnect it to your Wi-Fi network
- Re-enter your daily or weekly temperature schedule
- Re-enable smart integrations like Google Home or Alexa
- Adjust preferences like display brightness, temperature units, and alerts
It’s also a good idea to monitor the system over the next few hours to ensure the reset resolved the initial issue.
Troubleshooting If Reset Doesn’t Work
If your Honeywell thermostat still isn’t functioning properly after a reset:
- Double-check the wiring (turn off power before handling)
- Inspect the HVAC system—sometimes the issue lies with the furnace or AC, not the thermostat
- Replace batteries if applicable
- Contact Honeywell customer support or a licensed HVAC technician
Conclusion
Resetting a Honeywell thermostat is a quick and often effective fix for many common problems. Whether you use a smart model or a traditional one, this guide provides all the steps you need to get your home comfort system back on track. By identifying your model and following the correct reset instructions, you can avoid unnecessary replacements or costly service calls.
FAQs: Honeywell Thermostat Reset
1. How do I reset my Honeywell thermostat to factory settings?
Factory reset steps vary by model. Most touchscreen models offer this option in the settings menu, while older units may require battery removal.
2. Will resetting my thermostat delete my programmed schedule?
Yes, a factory reset erases all saved schedules, Wi-Fi settings, and preferences. Be sure to write them down before resetting.
3. Why is my Honeywell thermostat not responding even after a reset?
This could be due to a wiring issue, dead batteries, or HVAC system problems. Contact Honeywell support if issues persist.
4. How do I reconnect my Honeywell thermostat to Wi-Fi after a reset?
Use the thermostat’s menu to select Wi-Fi settings, find your network, and enter the password to reconnect.
5. Can I reset my thermostat without removing it from the wall?
Yes, most digital models allow resetting through the touchscreen or button controls without needing to detach the device.
Read More:
Sigmacare: Smart EHR for Long-Term Care Facilities
Washu Box: The Viral Internet Mystery Everyone’s Talking About