Photeeq lens flare empowers photographers and digital artists to enhance images with cinematic light effects. With precise tools, one can add flares that look natural—or bold, according to preference. Therefore, it transforms ordinary visuals into striking compositions.
What Is Photeeq Lens Flare?
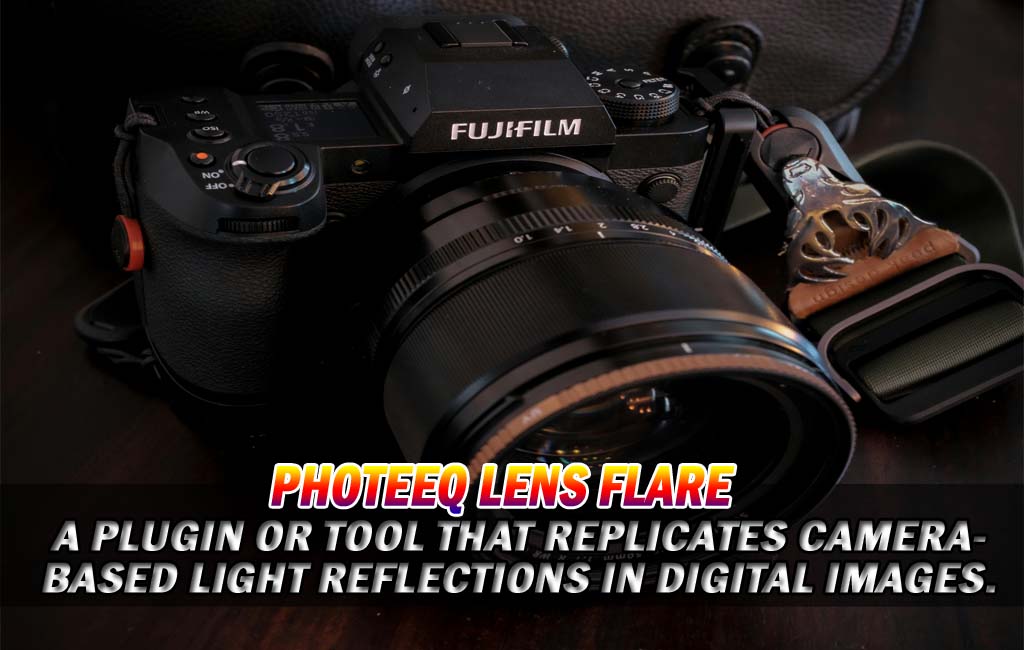
Photeeq lens flare refers to a plugin or tool that replicates camera-based light reflections in digital images. Instead of relying on unpredictable sunlight, one can digitally simulate flares that match the scene’s lighting. Consequently, it offers full creative control and consistency.
Why Choose Photeeq Lens Flare?
1. Create Cinematic Tone
Photeeq lens flare injects visual emotion into photos. For example, it adds drama to a portrait or imbues a landscape with golden-hour charm. As a result, images evoke stronger reactions.
2. Avoid Complex Lighting
Furthermore, this lens flare saves time and resources. Instead of setting up intricate rigs, one can apply realistic light effects post-production. This saves hours of manual effort and costly equipment.
3. Customize with Ease
Moreover, users can tweak position, hue, and intensity until the flare feels just right. One might soften the glow or ramp it up for dramatic flair. In addition, preset libraries streamline the process.
How to Use Photeeq Lens Flare
Step 1: Install the Plugin
First, download this lens flare plugin and install it in a compatible editor like Photoshop or Lightroom. Integration happens quickly, allowing one to select the tool from the filters menu immediately.
Step 2: Load Your Image
Next, open a desired photo with defined lighting—such as a sunset, streetlight, or reflection. Then, consider where the flare will look most natural before positioning it.
Step 3: Choose a Flare Style
Photeeq includes several presets: sunbursts, halos, streaks, and more. Each one suits different scenes. For instance, a golden sunburst complements outdoor shots, while subtle halos enhance portraits.
Step 4: Adjust Settings
- Position: Move the flare origin to align with light sources.
- Intensity: Increase or decrease brightness for realism.
- Color: Match the flare hue to the scene’s temperature.
- Opacity: Use lower settings for a subtle effect.
After tweaking, blend using Overlay or Screen mode and feather the edges. Finally, render the effect to maintain image quality.
Creative Ways to Use Photeeq Lens Flare
Portrait Highlights
In portraits, one can place Photeeq lens flare behind a subject’s head to simulate natural backlighting. This technique creates depth and warmth, especially during golden hour.
Landscape Enhancements
For landscapes, adding a subtle flare at the horizon gives sunrise or sunset scenes extra warmth. Moreover, it lifts otherwise flat images into cinematic work.
Street Photography Effects
Additionally, one can use streak flares to mimic neon reflections or car lights on wet roads. This approach enhances mood in urban night shots and adds motion intensity.
Product Glow Accents
When editing product shots, a small directional flare over glass or metal highlights texture and luxury. It adds polish to ecommerce visuals or lifestyle campaigns.
Essential Tips for Realistic LeFlare
Match Light Direction
Always align the flare with the original light source. If one places it incorrectly, the effect will feel unnatural, no matter how perfect the flare looks.
Use Subtle Blending
Most of the time, a low-opacity flare looks best. Instead of overwhelming the image, the effect should feel like an integral part of the scene.
Feather Edges
Softening the flare’s edges helps it blend with the background. One can feather or blur to remove sharp boundaries that disrupt realism.
Sync with Color Tones
Ensure the flare’s color temperature aligns with the scene. A warm-toned scene pairs with amber flares, while cool scenes benefit from bluish or white light.
Comparing Photeeq Lens Flare with Other Tools
Photeeq lens flare outperforms many alternatives. For example, in contrast to stock overlays, one can adjust flare angle and intensity on the fly. Similarly, Photeeq offers more realism than basic filters found in mobile apps.
Moreover, while Optical Flares and other plugins excel in video, Photeeq strikes a strong balance between photo and video workflows, leading to versatile use cases.
Conclusion
Ultimately, for anyone who wants to elevate imagery, photeeq lens flare offers valuable creative control. It allows artists to add cinematic light effects quickly and naturally. With intuitive options and realistic outcomes, this tool empowers users from novices to professionals.
Therefore, whether you edit photos as a hobby or work professionally, Photeeq lens flare can help you highlight your artistic vision in meaningful ways.
FAQs:
1. What is this lens flare?
Photeeq lens flare is a digital photo editing effect that simulates natural light flares caused by sunlight or artificial light sources in photography.
2. How do I install Photeeq lens flare?
You can install Photeeq as a plugin for compatible photo editing software like Photoshop or Lightroom. Follow the official plugin instructions for setup.
3. Can Photeeq lens flare be used on mobile?
Photeeq is primarily a desktop plugin. While mobile alternatives exist, the full functionality of Photeeq lens flare is best experienced on a PC or Mac.
4. Does this lens flare reduce image quality?
No, when applied properly, Photeeq lens flare enhances images without degrading resolution. Always export in high quality to retain detail.
5. What types of photography benefit most from Photeeq lens flare?
Portrait, landscape, and product photography often benefit from Photeeq lens flare. It adds mood, realism, and cinematic highlights to various shots.
Read More: